Since the Arduino abstraction layer has been ported to the esp8266 I decided to get onboard and start using it for all the networking projects the arduino needs a helper to accomplish. In short the esp8266 is a little 80Mhz 32bit microprocessor from Espressif that has built in wifi. It’s a bit of a power hog, but other than needing chunky 3.3v power there’s really not many downsides. The chip has a very small number of IO for those used to throwing a beagle bone or arduino mega at a problem, but being fast and having SPI or i2c means those can pretty easily be overcome.

I’ve been wanting to do some home automation things for a while, and up until now I was adamant that I would run ethernet cables to wherever there needed to be sensors. After actually trying to run power around my nice, old, heavy, plaster house I’ve found I’m not a fan of plasterwork. I also found that even the cheapest things you can hook to ethernet are more expensive than one of these esp8266 modules (except maybe one). There are many of these little modules out there (most using the designation esp-xx) and there are more every day. All modules use the same chip and bootloader so any dev board could be reprpgrammed to use any code. This means that when they start showing up in production devices that you can upload your own code to control someone else’s hardware as long as you find what pins go where.

There are may ways to program the esp modules. Lua is surprisingly popular (surprising to me) and done by the NodeMCU people. Of course the official SDK uses C (there is, sigh, an open source version too). There is Micro Python for the esp, but it seems very limited at this point. I use Arduino because the library and community support for it is so easy to access.
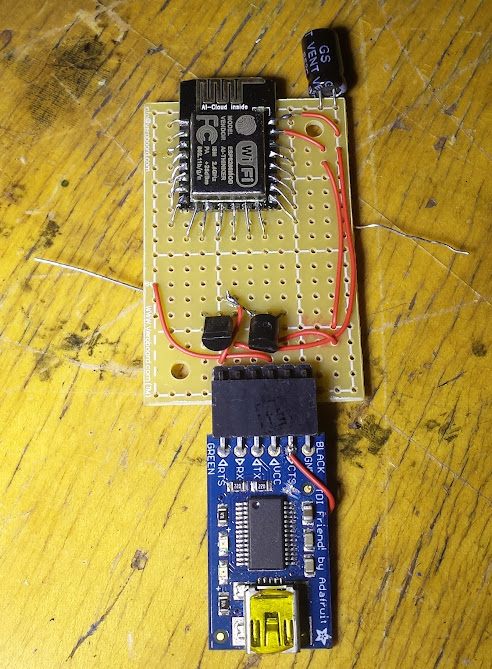
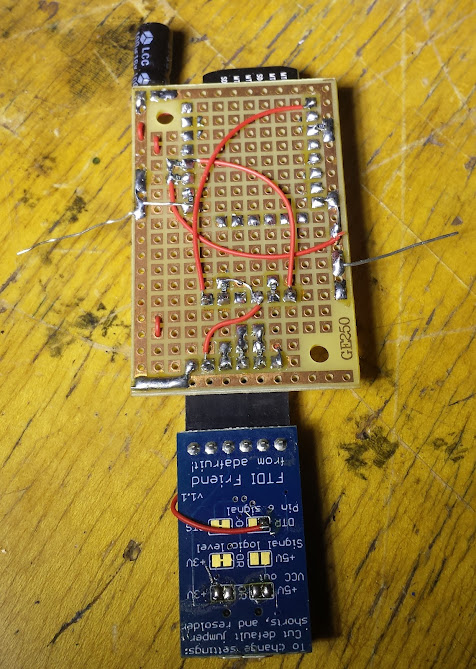
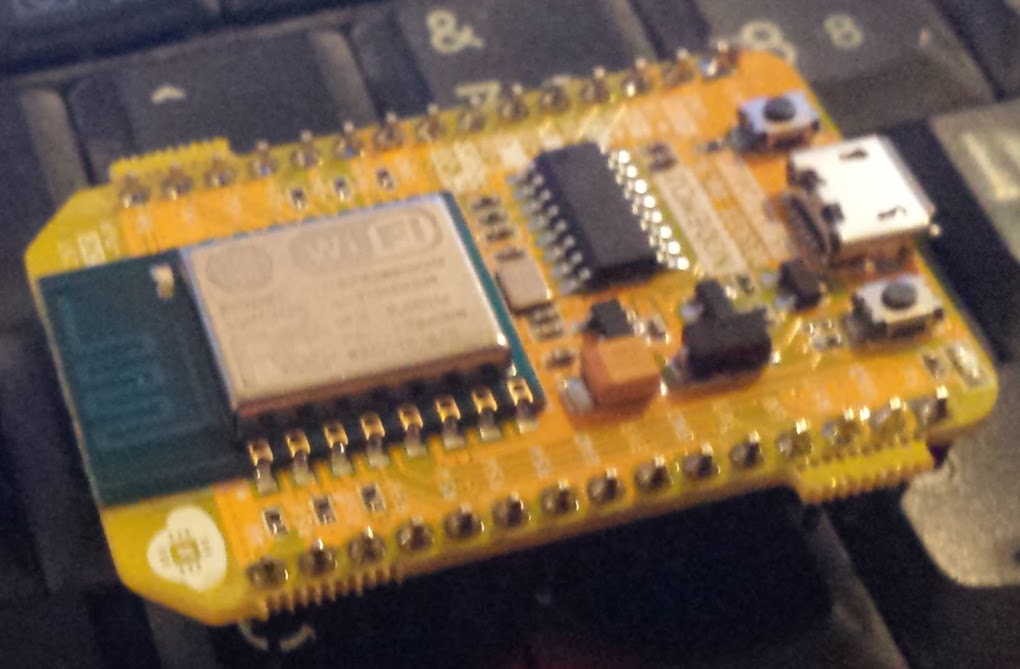
My favorite (see link below and new article) board to develop on is the NodeMCU 1.0 (or V2) board, it has all the pins broken out, a nice power regulator that you can supply from USB, and a built in usb to serial converter on it. The other thing they did was use the control lines of the usb-serial chip to hold the lines on the esp high or low as needed to program it. I liked this behavior so much I copied that part of their schematic to my own board that takes an ftdi friend. Unfortunately the two control lines it needs are both transmit lines and even adafruit’s ftdi friend doesn’t have solder jumpers for that so I cut a trace and bridged it myself. My goal was to have something standards compatible and I just ended up inventing my own standard… D’oh.
The push that I needed to get going was from another blog I follow (actually probably from hackaday reposting something he did that prompted me to follow him directly). He had been using mqtt as a transport protocol to network things together. I like mqtt for a few reasons, not the least of which it is easy to set up on a pi. I also like that OpenHAB has a hook for it, but seriously it has hooks for everything so that is probably going to be my main controller. In the case you need a lot of I/O I would probably SPI/i2c slave an arduino mega and have my own transport protocol for that data (although in practice I usually use the UART SerialCommand library). There is the ability to do it the other way around, slaving the esp to the arduino and using it as a wifi chip, but now that I’ve seen the esp in action the idea of using clunky AT commands does not appeal to me.
There’s the layout, what my intentions are, and now come the projects.
LED Display (proof of concept)
LED Display (for i3Detroit)
Power node (integrates current reading and relay like the Ubiquiti stuff)
Flow meter (for reading water flow, hot and cold)
Sump Level (probably IR distance and potted in epoxy when done)
Temp and humidity sensor (probably an esp-01 and a dht-22)
PIR motion sensor (same code as condensate pump alarm)
Setting up a raspberry pi mqtt server to display the IP and hostname on a Nokia LCD
All my code for this stuff will be uploaded here, I already have some of these projects done and will change these listed projects to links once I’ve written the articles.
Tags: esp8266

September 23, 2015 at 2:11 pm |
[…] Hacks, repairs, arcade games, sci-fi, and some very bad ideas with possibly humorous consequences « Intro to my ESP8266 adventures […]
September 24, 2015 at 11:04 am |
[…] The rest of this series can be gotten through from the home page here. […]
September 24, 2015 at 11:47 am |
[…] The rest of this series can be gotten through from the home page here. […]
September 24, 2015 at 12:31 pm |
[…] The rest of this series can be gotten through from the home page here. […]
September 24, 2015 at 1:33 pm |
[…] The rest of this series can be gotten through from the home page here. […]
May 28, 2016 at 8:57 pm |
[…] The rest of this series can be gotten through from the home page here. […]
June 20, 2016 at 2:46 am |
[…] here is my hub for all things esp8266. […]
June 20, 2016 at 10:16 pm |
[…] The rest of this series can be gotten through from the home page here. […]
September 2, 2016 at 12:53 am |
[…] here is my hub for all things esp8266. […]
March 16, 2017 at 3:17 pm |
[…] The rest of this series can be gotten through from the home page here. […]
April 6, 2019 at 4:41 am |
[…] looks like it could pretty easily be reverse engineered to drive with simple GPIO from, say, an esp8266. The layout is as […]